When Good Pants Get Torn
It happens to everyone eventually. You’re cutting line, catch a sharp branch or rock the wrong way, and suddenly there’s a tear in your favorite pair of fire pants. Most guys either toss them or slap on a crappy iron-on patch that falls off after one wash. There’s a better way.
Why Most Patches Fail
The biggest mistake is using the wrong materials. Regular cotton thread, cheap patches, or surface-only repairs won’t survive heat, abrasion, and repeated washing. A proper patch needs to become part of the fabric, not just sit on top of it.
Tools and Materials You’ll Need
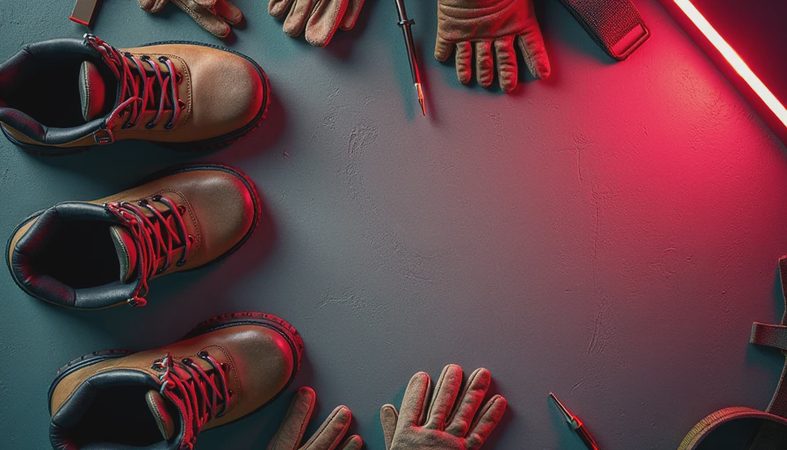
Heavy-duty FR or Kevlar thread (this is non-negotiable)
Denim or canvas patch material matching your pants (ideally same weight)
Sharp scissors or rotary cutter
Strong curved upholstery needle or heavy sewing machine needle
Seam ripper (for clean edges)
Fabric marker
Good leather palm thimble if hand-sewing
FR-compatible fabric glue (optional but helpful)
Step-by-Step Repair Process
1. Assess the Damage
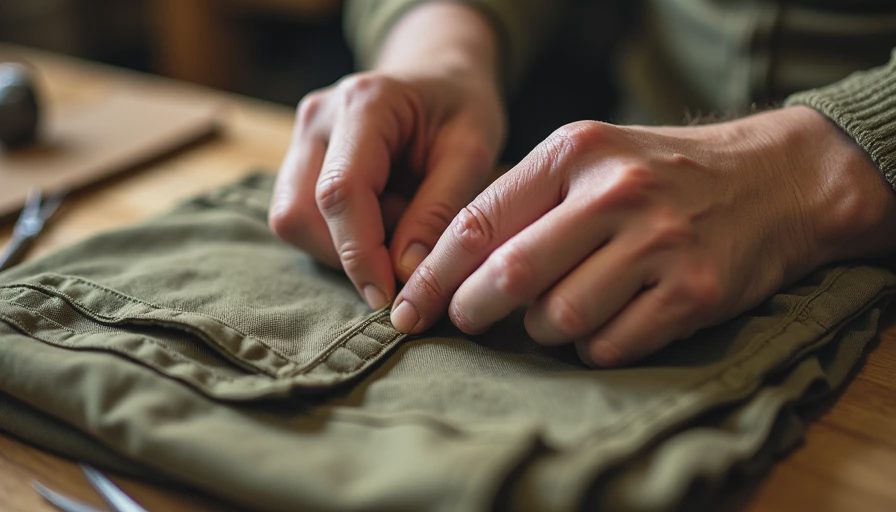
Clean the area and inspect the tear. If it’s along a seam, you may need to reinforce the entire section. Small L-shaped or straight tears are easiest to repair cleanly.
2. Prepare the Patch
Cut a patch at least 1.5 inches larger than the tear in all directions. Round the corners to prevent peeling. If your pants have FR treatment, try to use similarly treated material.
3. Position and Baste
Turn the pants inside out. Position the patch over the tear. Baste it in place with simple running stitches first so it doesn’t shift while you do the real work.
4. The Stitch That Holds
I use a combination of techniques:
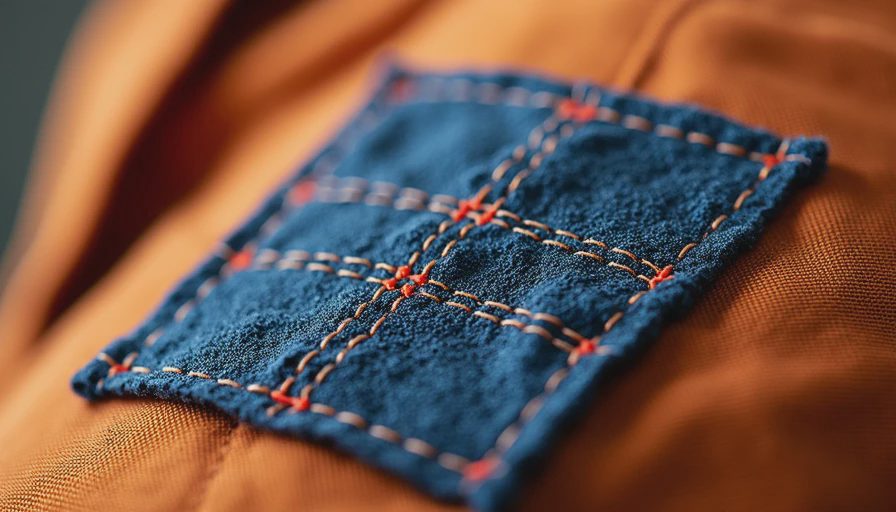
Perimeter stitching: Go around the edge of the patch with a tight zigzag or modified whip stitch using FR thread. This locks everything down.
Interior grid: Run parallel lines of stitching across the patch area like a grid. This distributes stress and prevents the patch from flapping.
For high-stress areas (knees, seat, crotch), I add a second patch on the inside for sandwich reinforcement.
5. Edge Finishing
Seal the raw edges of the patch with a tight overlock-style stitch or careful zigzag. This prevents fraying that could lead to bigger failures later.
6. Final Testing
Once repaired, give the area a good tug in all directions. Then test with heat if possible. I often hit repaired areas with the burn barrel lightly to verify the thread holds up.
Real-World Performance of These Repairs
I’ve patched pants using this method that went on to survive another full season and multiple fires. The key is using proper FR thread and making the patch structural, not decorative.
One pair I repaired in the crotch area (the most common failure point) lasted another 14 months before the rest of the pants finally retired.
When to Repair vs When to Replace
Small to medium tears in non-critical areas are worth repairing. If the fabric itself is worn thin across large areas or multiple seams are failing, it’s time for new pants. Safety first — compromised FR protection isn’t worth saving a few bucks.
Pro Tips From the Shop
Always repair from the inside when possible
Match thread color as close as possible but prioritize strength over looks
Break in the repaired area gently before full use
Re-treat with spray-on FR refresh if needed after washing
Keep a small repair kit in your line gear for field fixes
The Satisfaction of Keeping Good Gear Alive
There’s something deeply satisfying about taking pants that most people would throw away and making them better than new. In this disposable world, learning to repair your gear is a skill that pays off season after season.
Your pants have already proven they can handle the work. With a good patch, they’ll keep doing it for a long time.
Worn in fire. Proven in dirt.